Capture One 22, was just released a few days ago, and it comes with a number of key new features. The two headline features are panorama stitching and HDR merging, alongside an AI powered auto-rotation function, wireless tethering for Canon cameras, and performance improvements for catalogues.

I’ve received a number of requests from readers to review the new Panorama Stitching and HDR Merging features. Since each topic requires extensive testing and evaluation, I’ll split them into two posts. This post will look at the panorama stitching feature in detail. A future post will look at HDR Merging.
Disclaimer: From time to time, Capture One uses images from this website for their excellent training videos hosted by David Grover. For example, David hosted a YouTube Webinar this week introducing Capture One 22 that uses images from a recent trip to Lijiang. As a result, Capture One recently provided a complimentary license to us.
Background
Panorama stitching has been around for a long time, in Photoshop, Lightroom, Affinity Photo, and even most smartphones, to name just a few software packages that have this technology in a mature state. Capture One is a bit late to the table, but they’ve brought a high quality and sophisticated product to the market. Panorama stitching is where you take multiple images from a single point that spans a field of view greater than a single image can obtain from that same lens.
Capture One’s Approach
Capture One has taken a somewhat unique approach by providing three ways to stitch the panorama together based on how the images were taken and the desired end result. I won’t rewrite Capture One’s support page which can be found here, but I do think some basic information should be included here to make this post complete.
When shooting for Panorama stitches, Capture One suggests following these principles for optimal results:
- Shoot at 35mm or longer
- Use a tripod, if possible
- Lock the focus and exposure between the shots
- Shoot with 20-40% overlap
- Implement light fall-off correction prior to stitching; this will ensure an even transition across skies and other similar areas
Capture One provides you with a lot of flexibility to choose projections that gives you the desired result based on the number of images, scene, and field of view your images cover:
Spherical
- Useful for multi-row stitching with a large field of view both horizontally and vertically.
Cylindrical
- Useful for a single row of images that cover a field of view of more than ~100 degrees. Vertical lines remain vertical using this projection.
Perspective
- Perspective projection aims at simulating the field of view of your input images with the corresponding field of view of a wide-angle lens. Useful for scenarios that cover less than ~100 degrees field of view and images captured with technical cameras using tilt/shift lenses.
Panini
- Useful for architecture where the vanishing point is at the center of the frame. Vertical lines remain vertical and lines going towards the vanishing point remain intact using this projection.
Test Results
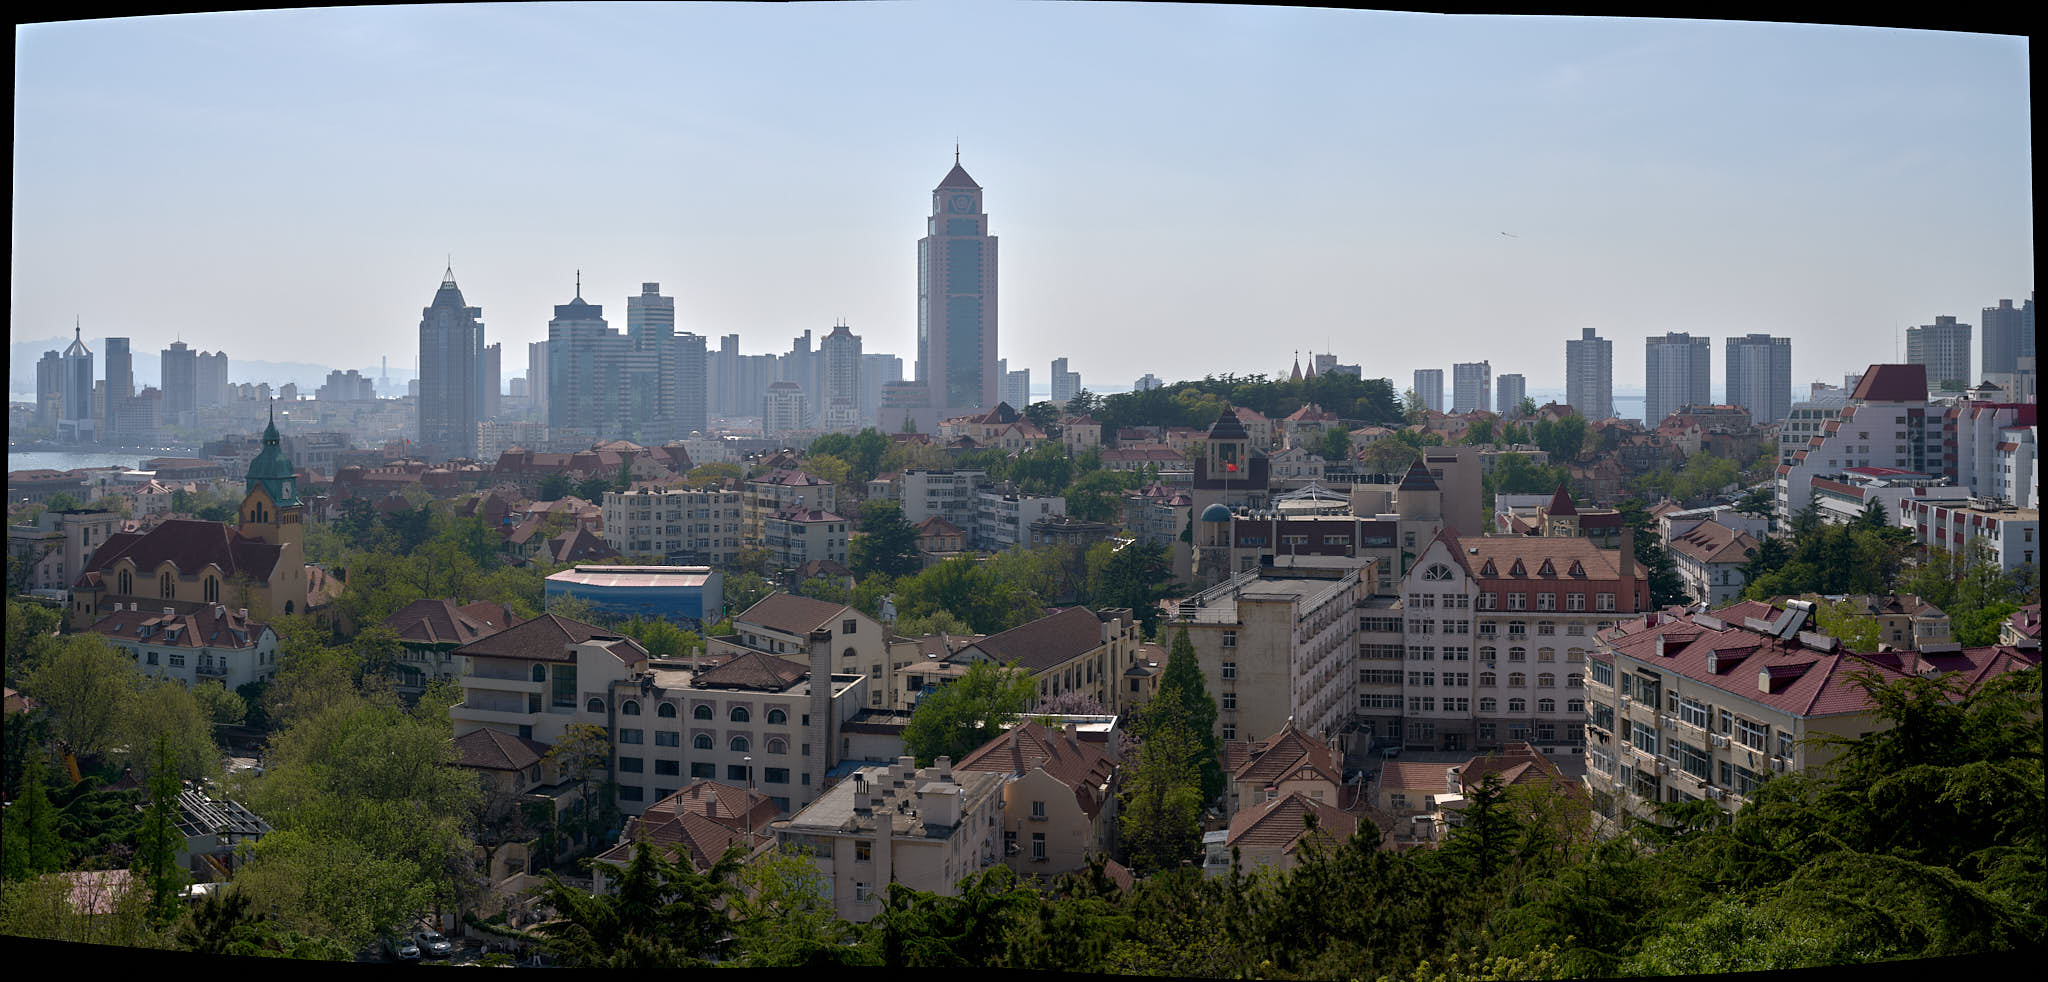
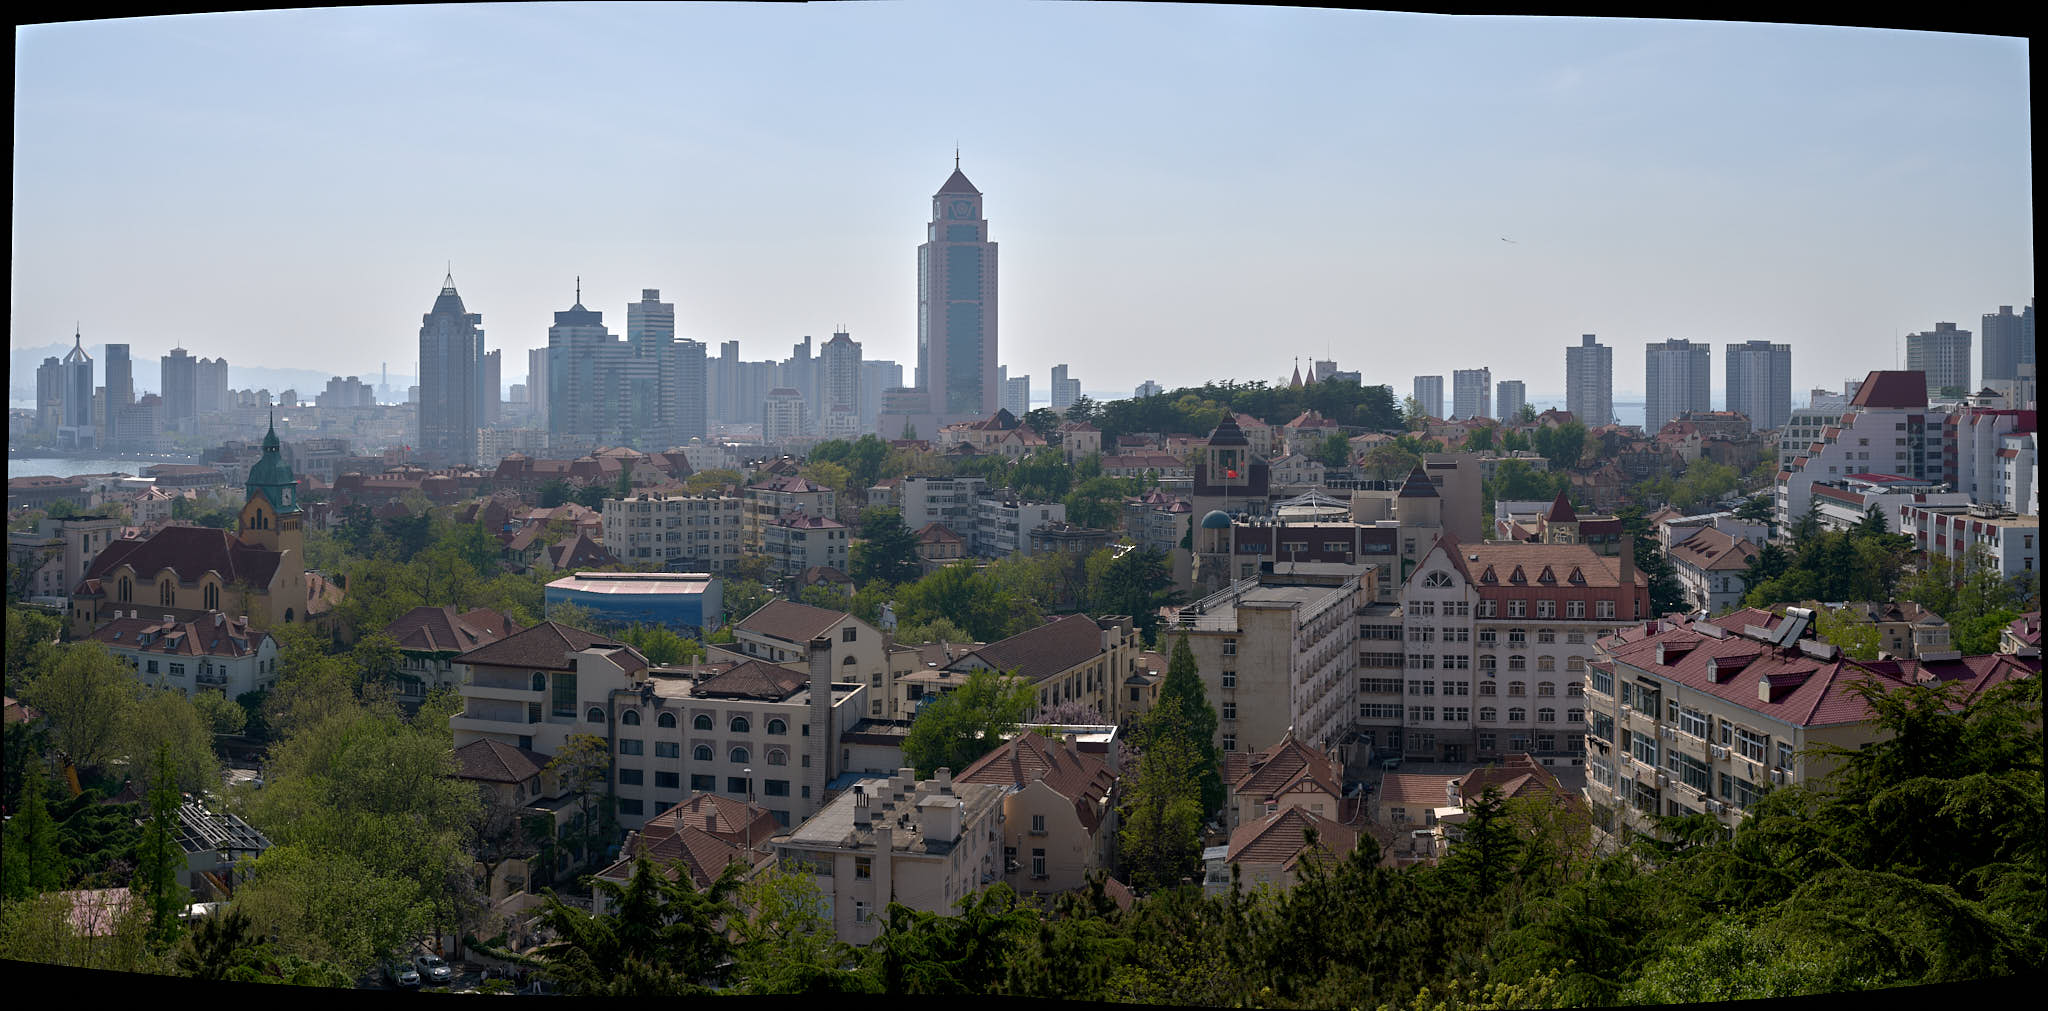
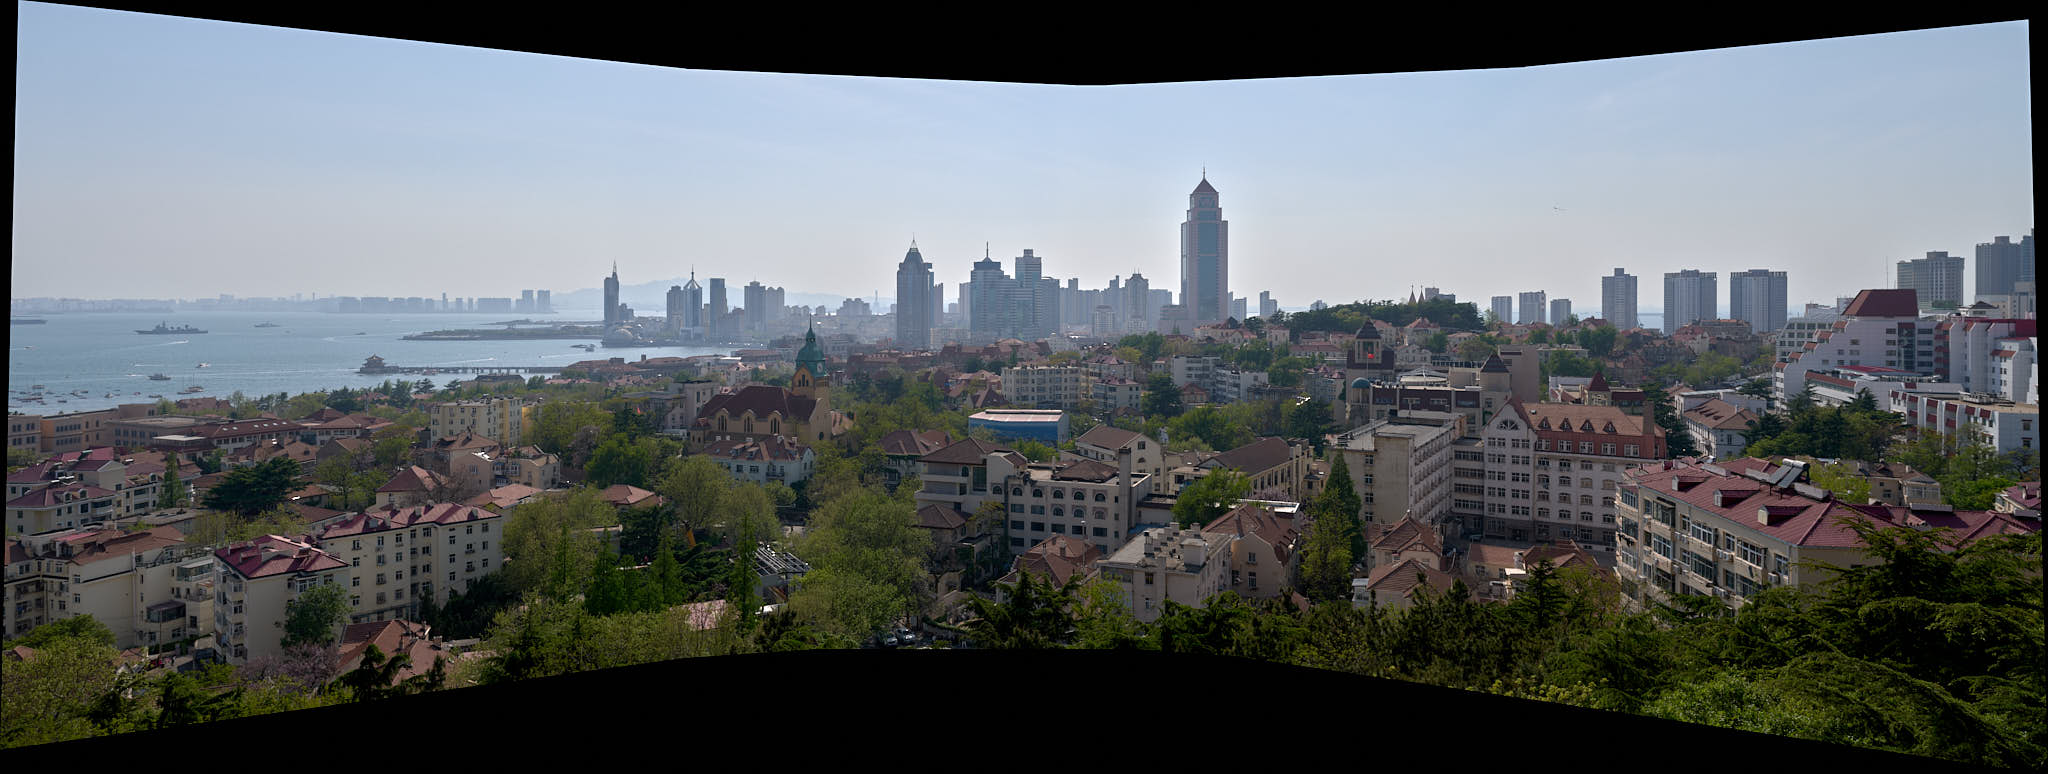
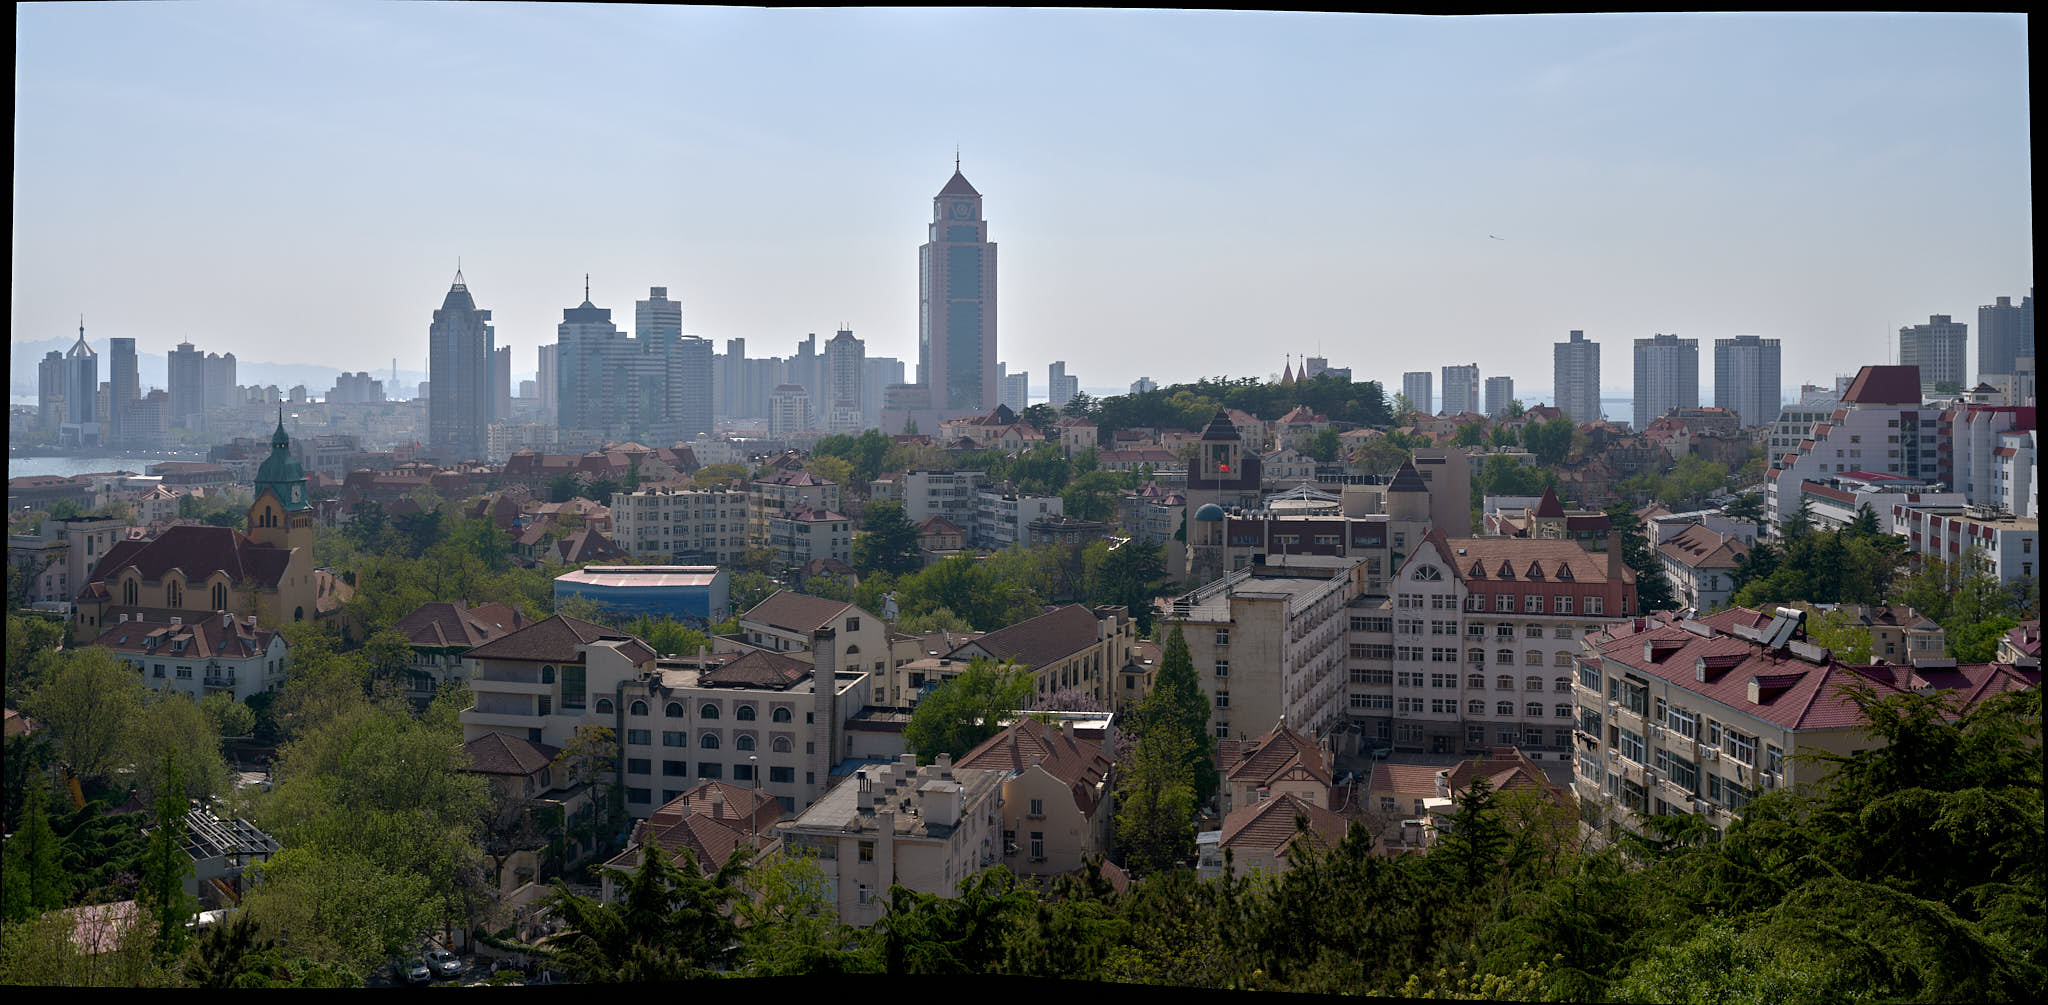
For my tests, I used a challenging set of images taken in Qingdao, Shandong Province in China. I used a total of 19 images (intentionally left one out to see how the software will handle the odd number) taken with the Fujifilm GFX100S. Each of these 19 images is the full 102MP, with no cropping. Adjustments to exposure, levels, and light fall off were made to the image prior to stitching. For each projection type, the appropriate number of images were used to create the panorama; for example, all 19 images were used for Spherical, whereas only three images were used for Cylindrical.
These tests were run on a Late 2020 MacBook Air M1 with 16GB of RAM, 1TB SSD, and the upgraded 8 core GPU. No other applications were running at the time.
Spherical Projection

| Spherical projection with 19 RAW files across two rows | |
| Images Used | 19 RAW 102MP Files |
| Preview Generation Time @ 100% Scale | 2m24s |
| Stitching Time | 4m34s |
| Stitched Image Size | 425MP (Full-size JPEG 83MB) |

| Spherical projection with three RAW files across one row | |
| Images Used | 3 RAW 102MP Files |
| Preview Generation Time @ 100% Scale | 18s |
| Stitching Time | 24s |
| Stitched Image Size | 147MP (Full-size 22MB JPEG) |
Cylindrical Projection

| Cylindrical projection with three RAW files across one row | |
| Images Used | 3 RAW 102MP Files |
| Preview Generation Time @ 100% Scale | 16s |
| Stitching Time | 24s |
| Stitched Image Size | 152MP (Full-size 23MB JPEG) |
Perspective Projection

| Perspective projection using five RAW files across one row | |
| Images Used | 5 RAW 102MP Files |
| Preview Generation Time @ 100% Scale | 26s |
| Stitching Time | 1m31s |
| Stitched Image Size | 363MP (Full-size JPEG 42MB) |
Panini Projection

| Panini projection using three images across one row | |
| Images Used | 3 RAW 102MP Files |
| Preview Generation Time @ 100% Scale | 38s |
| Stitching Time | 1m21s |
| Stitched Image Size | 160MP (Full-size JPEG 24MB) |
I think the results are pretty impressive, especially when considering that this test was completed on a super portable M1 MacBook Air. Even with 19 massive RAW files to combine, with complex detail from the cityscape, Capture One was able to stitch it together in 4.5 minutes. In more typical situations where you’ll use three images, the stitching time drops down to 0.5 minutes!
During the tests, I carefully monitored the CPU/GPU usage and was surprised to find that Capture One 22 barely makes use of the GPU for the stitching. Therefore, for those considering M1 MacBook Air vs. M1 MacBook Pro or Pro Max, there will be limited gain (proportional to the increase in CPU cores you choose) over the M1 MacBook Air. For my purposes, where I may do one panorama every now and then, the performance from Capture One 22 and the M1 MacBook Air is more than sufficient.
Compared to the Competition
Prior to Capture One 22, I used Affinity Photo to create panoramas. I wanted to see if this new workflow adds or detracts from the time it takes to complete this task. I used the same 19 RAW files and loaded them into Affinity Photo’s panorama function. I don’t feel that Affinity Photo’s RAW engine is as sophisticated as Capture One so I wouldn’t recommend this approach; I typically will convert the file from RAW to TIFF in Capture One and then use the TIFF files for the panorama in Affinity Photo. However, to be fair to Capture One, I did a like-for-like comparison by using RAW files in both applications.
Since Affinity Photo does not provide choices for the projection, I used the Spherical Projection in Capture One which matched closest to what Affinity Photo produced. It seemed to be the right choice, since the time difference was negligible between the two applications:
| Capture One Spherical Projection | Affinity Photo Default | |
| Images Used | 19 RAW 102MP Files | 19 RAW 102MP Files |
| Preview Generation Time | 2m24s | 4m19s |
| Memory Used | 16GB | 13GB |
| Stitching Time | 4m34s | 5m54s |
| Memory Used | 30GB (15GB Swap Used) | 13GB |
| Can Use Application While Stitching? | Yes | No |
From this test, we can see that Capture One 22 is faster than Affinity Photo with this set of images, especially for preview generation. In Capture One 22, preview generation can be further sped up by reducing the scale; for these tests, scale was left at the slowest setting of 100% to provide for the worst case experience. We can also see that Capture One 22 makes much more use of the RAM than Affinity Photo does, with my 16GB MacBook Air needing to get into a memory swap situation (seamless to the user).
One huge benefit of Capture One’s approach as compared to Affinity is that Capture One 22 allows you to continue working on other images while it renders the stitch. Much like how it exports images, it works away in the background. If you’re in a rush to get an image stitched however, it appears that Capture One leaves some performance on the table in order to allow you to continue working in the foreground. I saw the CPU usage hovering around 50% during stitching.
One capability that Affinity Photo has that Capture One 22 does not, is the ability to move the overlapping layers prior to rendering the stitch. For very challenging images, this can be extremely helpful. On a trip to Singapore, I didn’t have a wide enough lens to capture the Gardens by the Bay in its full glory, so I used Affinity Photo to stitch a panorama; because I wasn’t using a nodal rail, the perspective differences of the “twigs” of the gardens tripped up the software which required lots of manual intervention to align the layers correctly. I hope Capture One will add this feature in the future for more flexibility.
Conclusion
Capture One has provided us with a very useful new feature in panorama stitching. Being able to work directly from the RAW file and within Capture One 22 provides for great workflow benefits. In regards to speed and performance, it beats my previous workflow with Affinity Photo handily. The stitched files are excellent to work with and can take all the usual styles and edits you would do to a RAW file.
Pros
- Excellent performance even on an M1 MacBook Air
- Streamlined workflow as you remain with the RAW developer
- Can work on other images while the stitch renders
Cons
- Does not appear to make use of the GPU
- No layer adjustments of the stitch for complicated panoramas
- No de-ghosting options for subjects with moving features
For the next few days, I’ll be testing the HDR functionality and will report back my findings. I hope you find the above useful, and if you do, you can thank Oliver for submitting the question on the GFX100S 6-month review comments 🙂 I really do read them and try my best to respond with objective data so that people can make good decisions.
Discover more from fcracer - Travel & Photography
Subscribe to get the latest posts sent to your email.
Thank you for your fast and informative response.Your work is brilliant.Neal
Short answer: you cannot. Otherwise you could/need a raw converter (from Fuji or any other even free) to export your pictures into Tiff,DNG, Jpeg in order to use with Photos. Besides the integrated Apple solution and convenience coming with it, why would you use Photos in conjunction with such a powerful high-end photographic system like GFX or other top-tier system? Photos seems too limited, at least to me. It’s primarily made to work seamlessly with Apple-based hardware and far from being an advanced editing solution, especially when working with raw files.
Hope this helps.
I have a Question. Apple still does not support Raw photos from the Fuji GFX100S What do you do? If you use Photos
Hi Neal, GFX100S is not currently on the official list from Apple for Mac Photos or the iOS versions. Sometimes Apple products differentiate between Uncompressed, Lossless Compressed and Compressed and can sometimes allow Uncompressed RAW files, however, in this case, Uncompressed didn’t work when I just tested it on MacOS Monterey and Photos.
As Oliver noted, I would not recommend using Photos for RAW development anyhow, it’s so limited. If you want to keep things simple and cost effective, you can use the Fujifilm version of Capture One Express which is available free to Fujifilm users.
I do use MacOS Photos for when I’ve completed my edits and exported the final JPEG images. I then load them into MacOS Photos so that it’s easier to find them in the future. Photos has some AI that allows for searching for things like “Dogs” or “Cars” without having to manually add any key words.
Thank you so much for this post! It definitely confirms that the new Pro machines aren’t absolutely necessary for photographers who don’t have the enormous in/output some YT channels make us believe normal. Down to earth, and maybe for non-wedding/fashion photographers, the MacBook Air proves how accomplished this laptop actually is at a fraction of the cost of the Pro/Max series.
FWIW, I contacted fcracer on my hunt for information about the combo GFX100S/MBAir as I project to travel for an extended period of time quite soon, trekking and hiking Europe with my dog and therefore hauling quite some gear and equipment. Thanks to the content of fcracer, I more and more believe that this combo will successfully match my requirements of dimension, weight, performance, cost efficiency and even durability for the moment I settle again.
Thanks to him interested people can now put these findings into perspective and decide whatever gear matches best their requirements.
Thank you. I’m looking forward to part 2 😊