In 2016, I picked up my favourite camera of all time, the Fujifilm X-Pro2, and took it on a family trip to Whistler, British Columbia. We rented a beautiful house on airbnb and setup camp for a week. During that stay, I had wanted to try something new that I had recently learned about; I wanted to try to photograph the night sky.
I became intrigued by what the camera could capture after seeing the results of a long exposure image taken in my home at night. I was surprised that the sensor could see things that my naked eye could not. This led to researching how to photograph the milky way or at least a few stars in the sky.
Process Used
I downloaded an app called PhotoPills on my phone and spent some time reading their excellent Milky Way Photograph: The Definitive Guide. In that guide, I learned the basic requirements and rules on how to photograph the night sky:
- Use a tripod
- Turn off long exposure noise reduction
- Choose the widest focal length + largest aperture lens combination that you have
- Use an app to identify when and where the Milky Way will be
- Use the 500 rule to select the shutter speed (500 rule is when you take 500 and divide it by the 35MM equivalent focal length, which will provide the number of seconds you can use for the exposure time; the exposure time is always a tradeoff of trying to increase the signal to noise ratio, while not being so long that you end up with lines instead of point sources for the stars due to the movement of the Earth)
- Set the ISO to 1600 or 3200 depending on how bright the lens is and how the camera handles noise at higher ISO
- Ensure that RAW images are being saved
- Focus on a star by using manual focus so that it’s easy to take multiple shots without adding new variables
- Use the timer mode to take several images over a period of time so that you can stack the images later
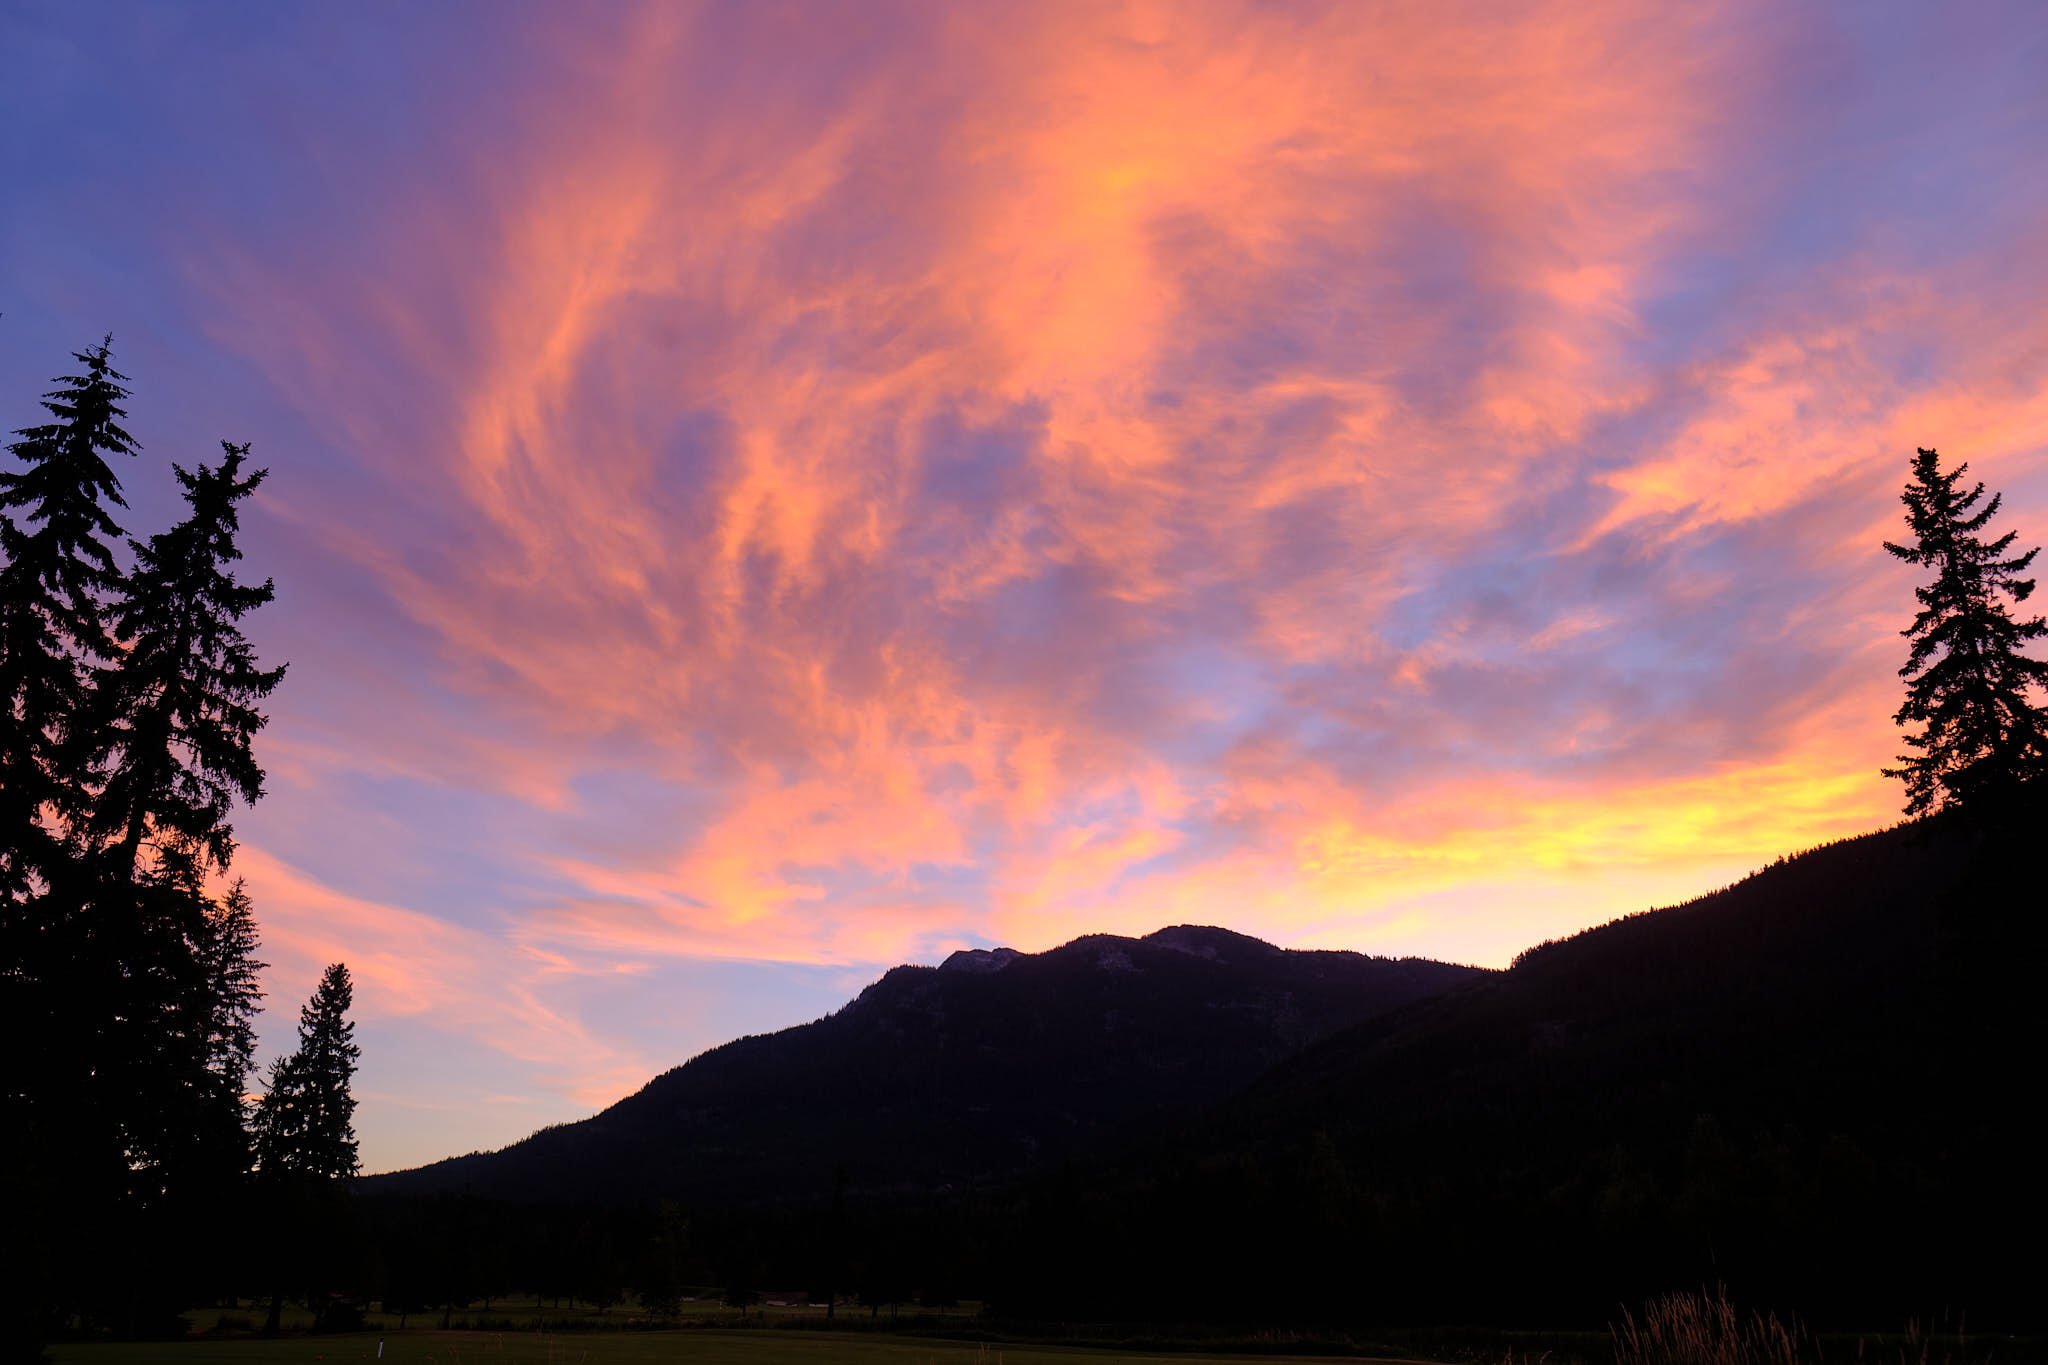
Thanks to some fortuitous luck, the Milky Way was going to be positioned perfectly above our location in the late evening. While my family was inside enjoying a nice dinner, I quickly setup a tripod in the backyard of our rented airbnb and used the sunset to establish the framing I would use for my first attempt at capturing the Milky Way.
I used the Fujinon XF16 F1.4 lens for the first attempt because of its large F1.4 aperture, but ultimately decided that I wanted something with a wider field of view. I then switched it out for the Samyang 12MM F2 manual focus lens. The image at sunset below shows the composition with the 16MM. The later images of the Milky Way were taken with the 12MM.
After the sun set and the late evening came along, I went back out to the previously setup tripod, mounted the X-Pro2 and tried taking a few shots. Based on the 500 rule, I used the following settings:
- Aperture: F2
- ISO: 1600
- Shutter: 30 seconds (500 / 12MM * 1.5 APSC Crop Factor = 28 seconds)
I then set the camera to manual focus and adjusted the focus by magnifying the EVF view as much as possible with a bright star in the centre. The key is to focus towards infinity and then go back and forth until the star becomes the smallest size in the EVF. On my Samyang lens, infinity is actually accurate on the scale, however the focus ring is able to go beyond infinity so it’s important to check using the EVF.
Once you have focus set, it’s important to lock that in place or take a visual confirmation so that you can repeat it again if it gets changed or when you want to try again the next day. For this very reason, a manual focus lens can actually be easier to use when taking images of the night sky. You can set it and forget it, whereas an autofocus lens may choose different points each time, or focus-by-wire may have some funky characteristics.
The Results
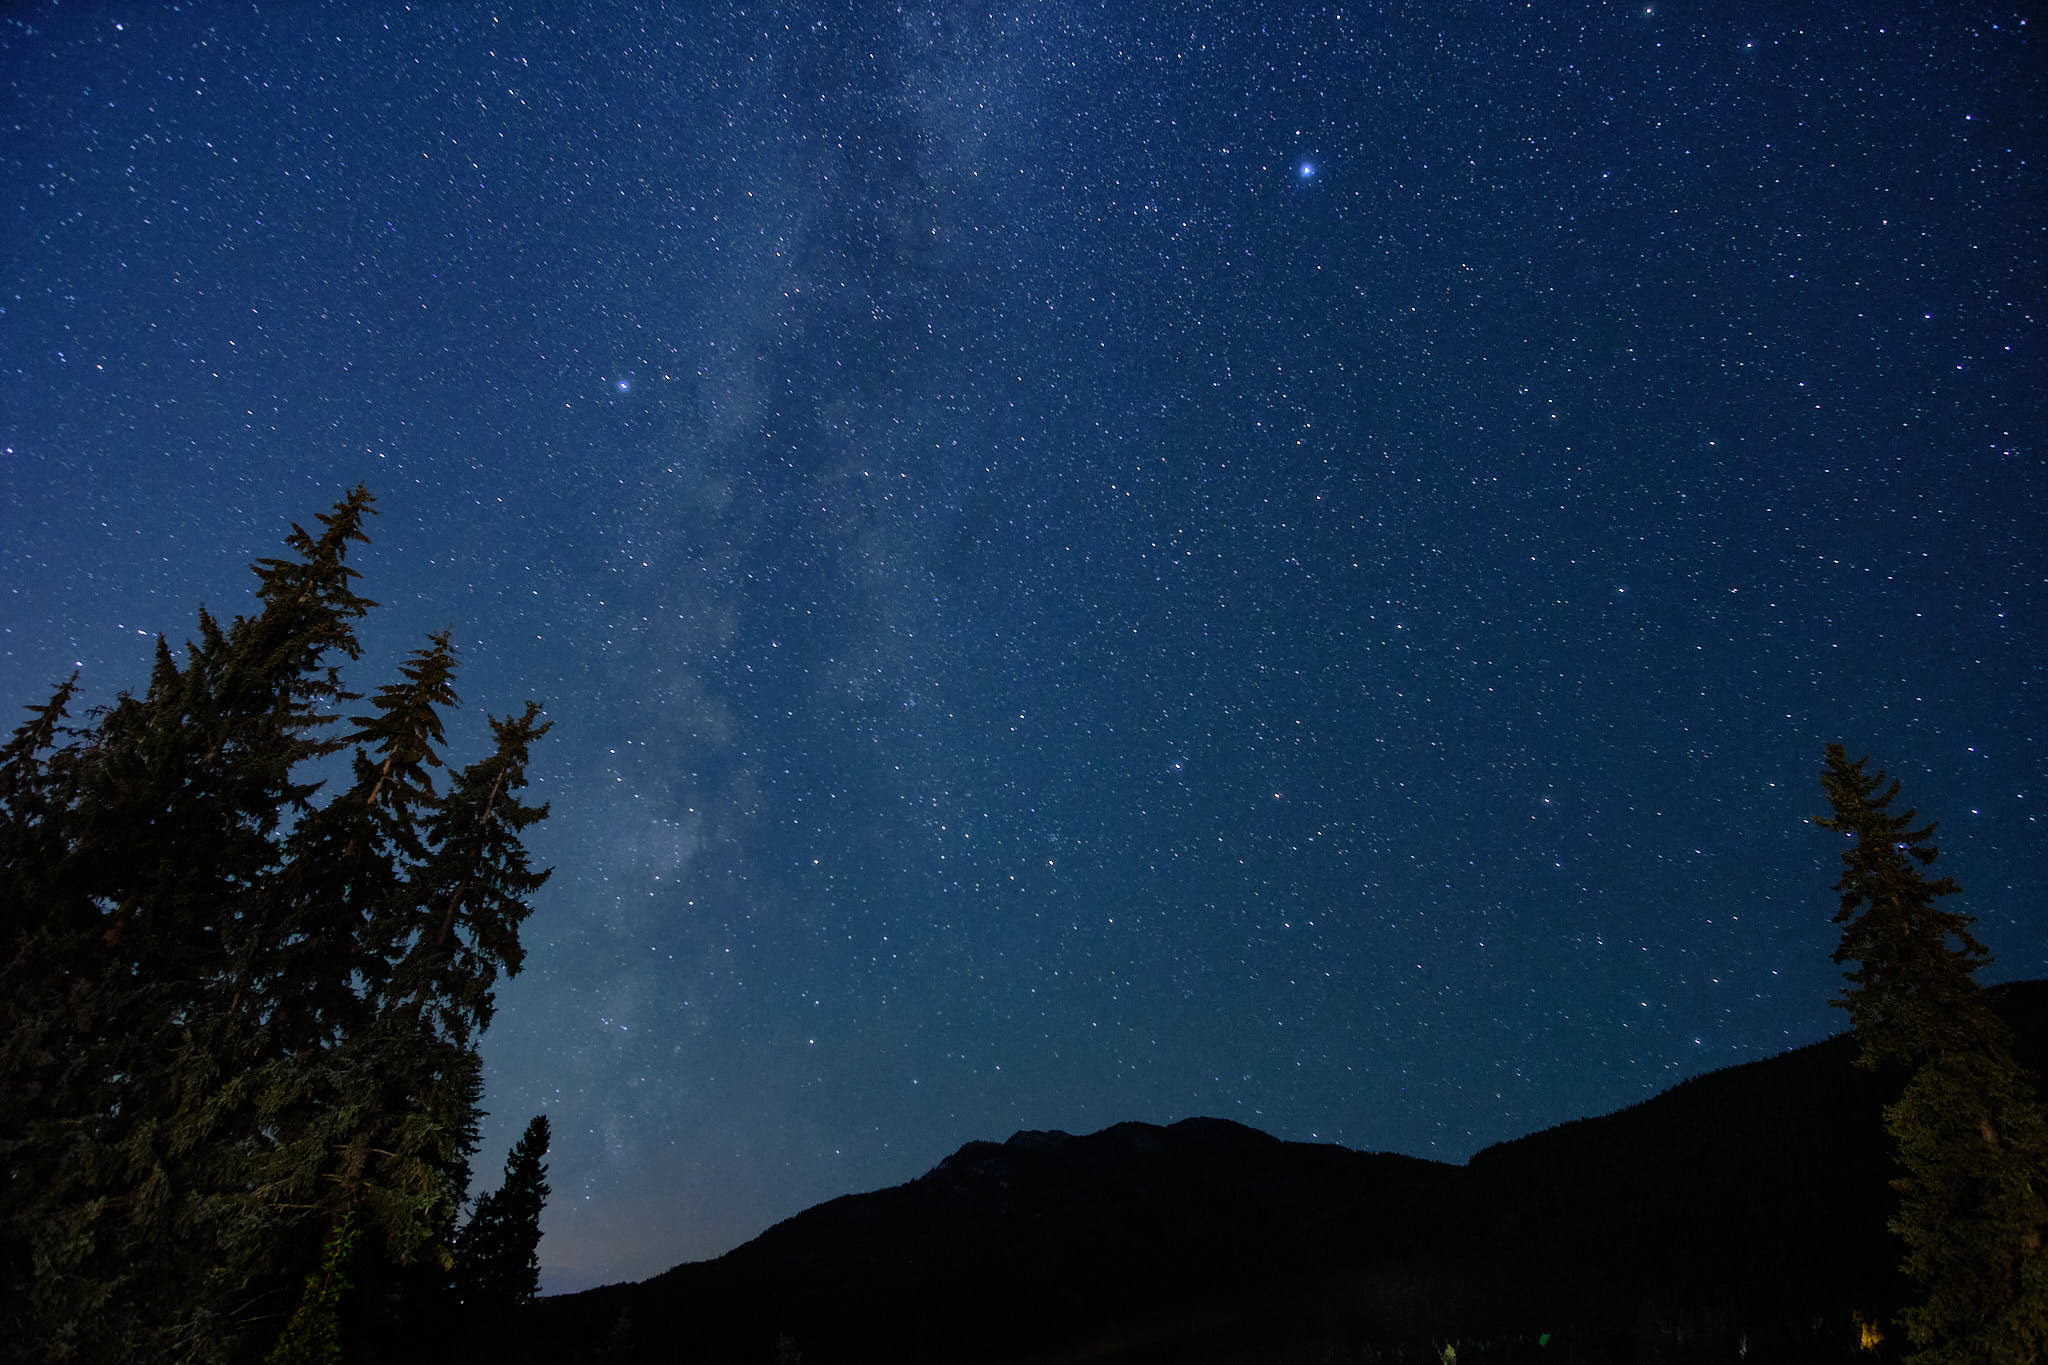
Using the two second timer, I took an image, waited patiently for 30 seconds, and then my jaw hit the ground at what had been captured. The Milky Way in all its glory was somehow captured by this total rookie on a consumer camera, using a $259 Samyang lens and $180 tripod! The below image is a single exposure after RAW processing. I’m still amazed at how lucky I got on my first attempt; more on this luck later.
With night sky photography, the key is always trying to improve the signal vs. the noise. We’re using high ISO for these shots, which introduces quite a bit of noise, to keep the shutter speed reasonable so that the stars still look like stars and not lines of light. However, there’s a common technique applied to help reduce the noise called “stacking”. This is where several images are taken of the night sky and then stacked in speciality software, so that even the dimmest stars can be captured, while the noise is reduced.
Stacking works because noise is random, whereas a star is constant. By eliminating the random noise, the software can keep all the stars and maximize the signal to noise ratio. I didn’t use dark frames for the images in this post. The below image was post processed with software that is sadly no longer available, but I share it to demonstrate how much more detail is available if you take several images and stack them together.
Most stacking software will work by using a mask or by selecting the areas that you don’t want to stack. In the image below, we don’t want to stack the trees in the foreground, so I masked the trees out to help guide the software. You can see far more detail in this shot than the single exposure above. Unfortunately, when I post processed this image, I wish I had set the white balance colder as I now prefer night sky images to be more blue.
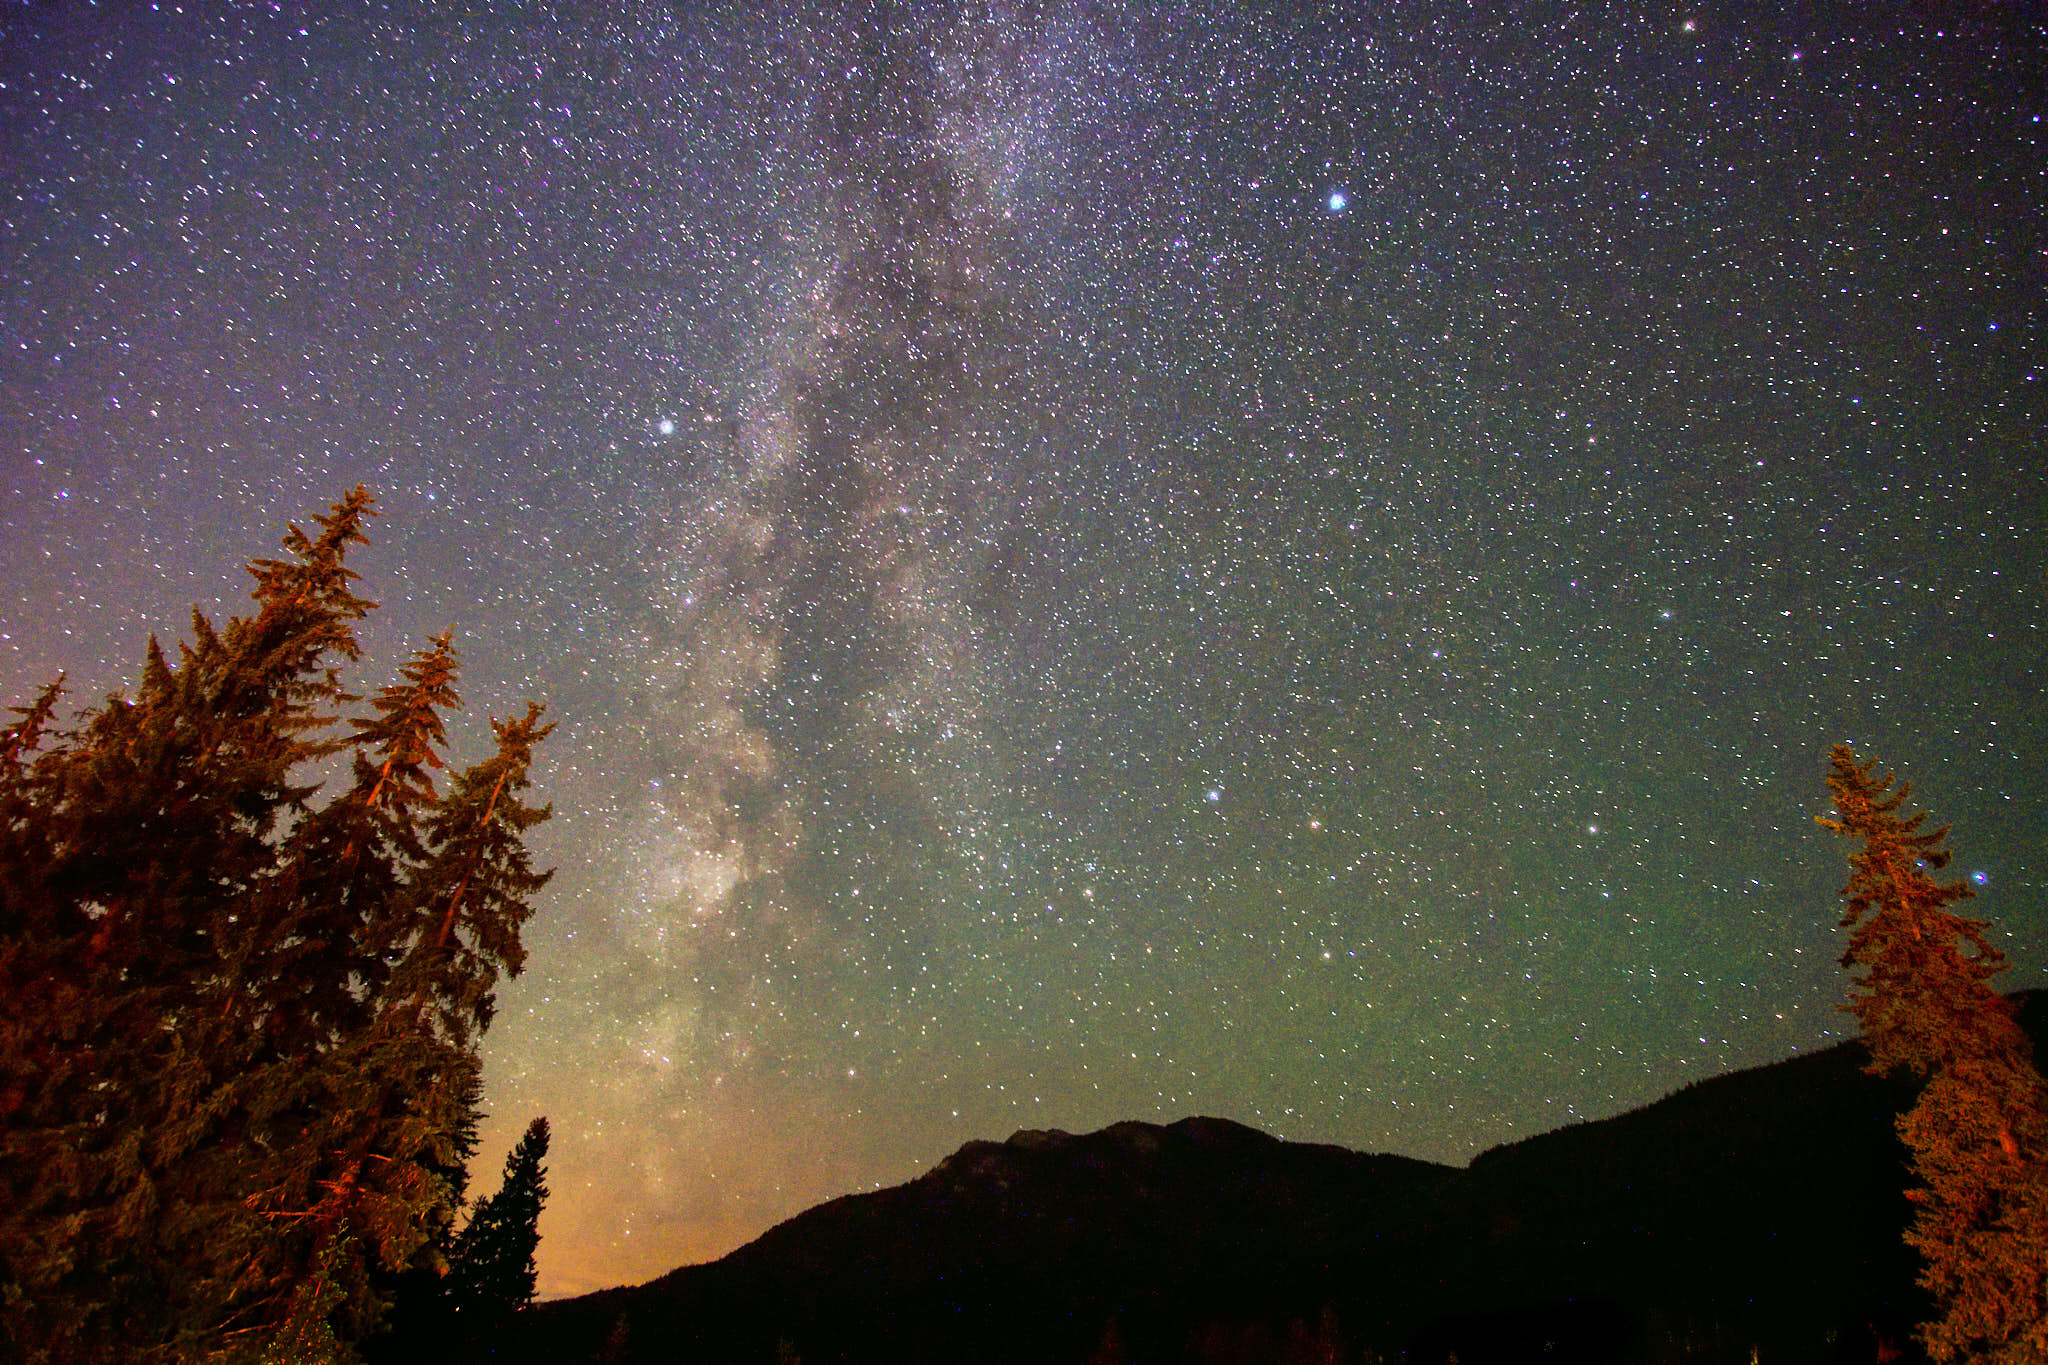
Keen night sky photographers will note that in the image above, the software appears to have duplicated some stars near the horizon. This is common when stacking images, so it’s something to keep an eye on. While it looks like there are far more stars, it may be creating false stars which is less than ideal.
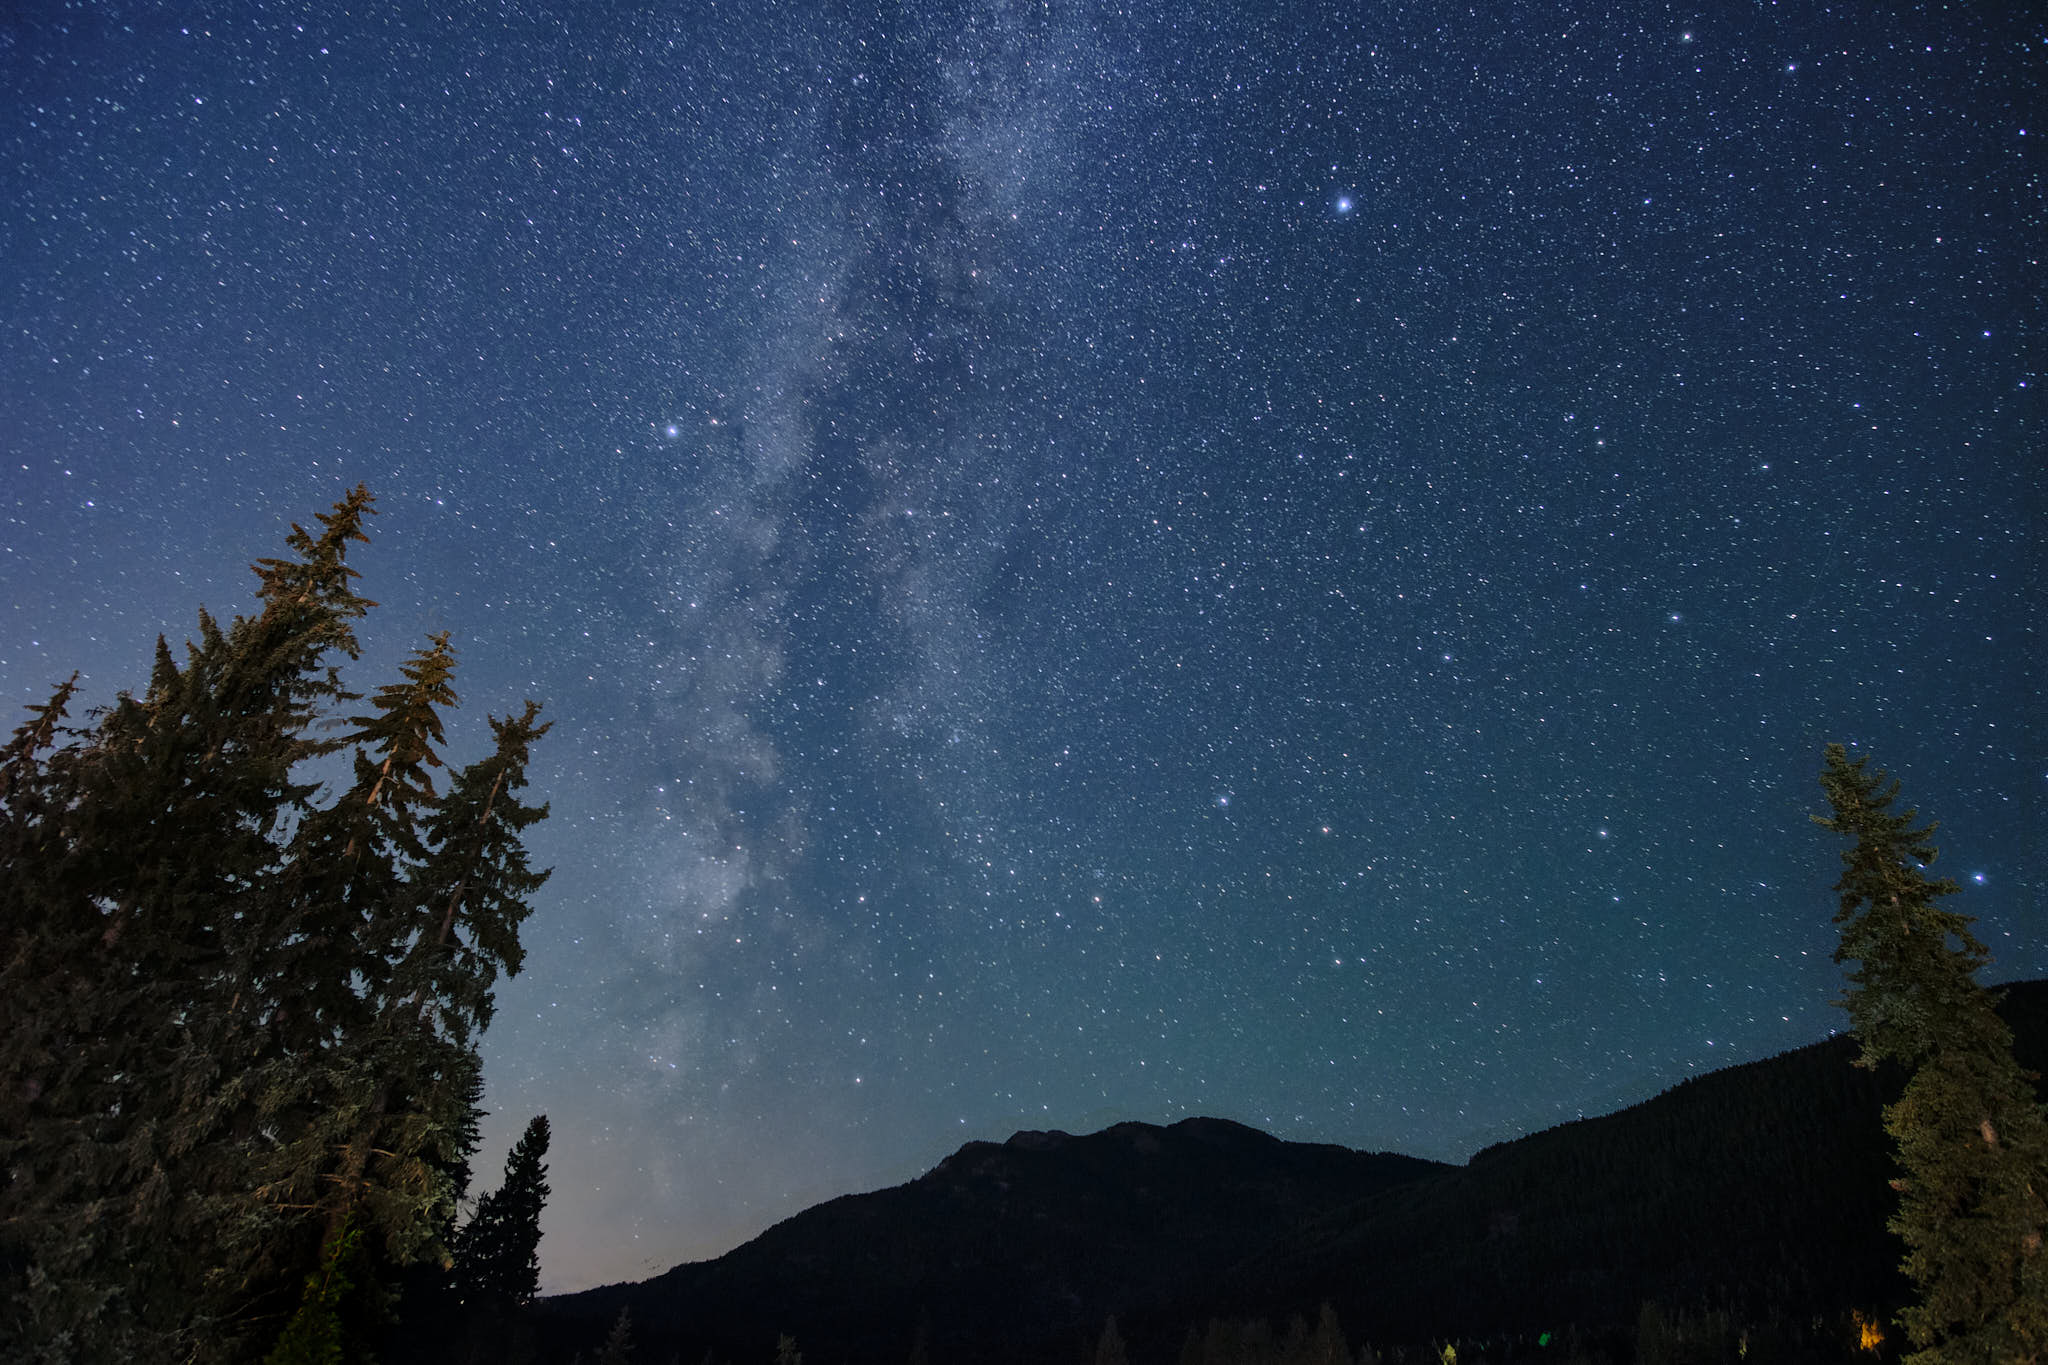
I now use Starry Landscape Stacker to bring the images together. The interface isn’t super intuitive, but it’s easy enough for this beginner to produce the image below. It’s also much, much easier to use than Affinity Photo’s implementation. The image below is a four image stack, processed today using Starry Landscape Stacker. I find Starry Landscape Stacker does a good job of eliminating duplicate stars.
Beginner’s Luck
When I took the above images, I had no idea how lucky I had been. In subsequent attempts at capturing the Milky Way, I’ve failed miserably. In that moment, I had a rare combination of:
- High altitude which is important to overcome atmospheric effects
- Super clear sky with low temperature and humidity which means less diffraction from the moisture in the air
- The Milky Way perfectly positioned at a time that makes standing out in the cold more tolerable
- Low light pollution from being on a mountain and away from any major cities
- No bright Moon in the composition
- A camera that has excellent noise characteristics at high ISO and a wide aperture lens to match
As noted above, since that first successful attempt, I’ve never been able to come close to matching it. In my subsequent attempts, one or more of the criteria on that list were not met and the image ended up being poor as a result. Having said that, I learned some things that may help you in your first attempt at a Milky Way shot.
Learning Along the Way
The most important thing I learned is that we rarely get the luck I had on my first attempt, so it’s really important to plan. Use the PhotoPills app to identify where the Milky Way will be, the Moon position, where sources of light pollution may come from, and of course, check the weather and ideal location from where to frame your composition.
If you’re really serious about capturing the nigh sky, a camera with large pixels and low noise at high ISO would be ideal. Something like the Canon R6A (specially made for Astrophotography), Nikon D850, Sony A73 or the Fujifilm X-T4 are good places to start. The key is to also match a bright aperture lens that has low distortion around the edges; you don’t want to have stars that look like discs towards the edges.
An excellent tripod is very important, so choose something very sturdy. In my sequence of images, there were no images that needed to be discarded because I had a very sturdy Sirui Tripod for the little X-Pro2. It’s also a good idea to use a remote shutter or interval shooting so you can stay in the warm indoors or in your car while the camera does the work for you.
If you use interval shooting, it’s a good idea to ensure there are no breaks in between shots. I had set the X-Pro2 to wait one minute in between exposures. This led to an unfortunate gap in the star trails image below; solid lines would look so much better.

For beginners, the 500 rule works well enough, however if you want to have pin-sharp stars, it’s better to either use a tracker that follows the stars, or the NPF rule which takes into consideration the pixel pitch of the sensor, along with the focal length and aperture. You can learn more about the NPF rule in the guide I linked above. The PhotoPills app also calculates it for you so it’s easy to implement.
While I took the above shots in the backyard of a house, on my subsequent attempts, I was sometimes in the woods. In those situations, make sure you bring safety equipment with you including lights, water, food, and the ability to call for help if something goes wrong. Some of the woods were mighty dark at night, and with animals howling in the distance, when the image wasn’t super good, I quickly packed up and called it a night!
Conclusion
This post is not intended to be a tutorial, given that I’m very much a novice at night sky photography, but rather I hope to provide some inspiration to go out and give it a shot. With tools like PhotoPills and excellent modern camera sensors and lenses, you may be able to improve your odds of capturing an epic Milky Way or get lucky like I did! I hope you’ve enjoyed this fun and lighthearted post, and I hope that you get your camera out under the stars and point it skyward!
Discover more from fcracer - Travel & Photography
Subscribe to get the latest posts sent to your email.